Microsoft 365 generates DNS values specifically for your tenant and domain. Always copy the values shown in the Microsoft 365 Admin Center instead of using example values from another domain.
- In the Microsoft 365 Admin Center, open Settings > Domains and select the domain.
- Copy the TXT verification record supplied by Microsoft.
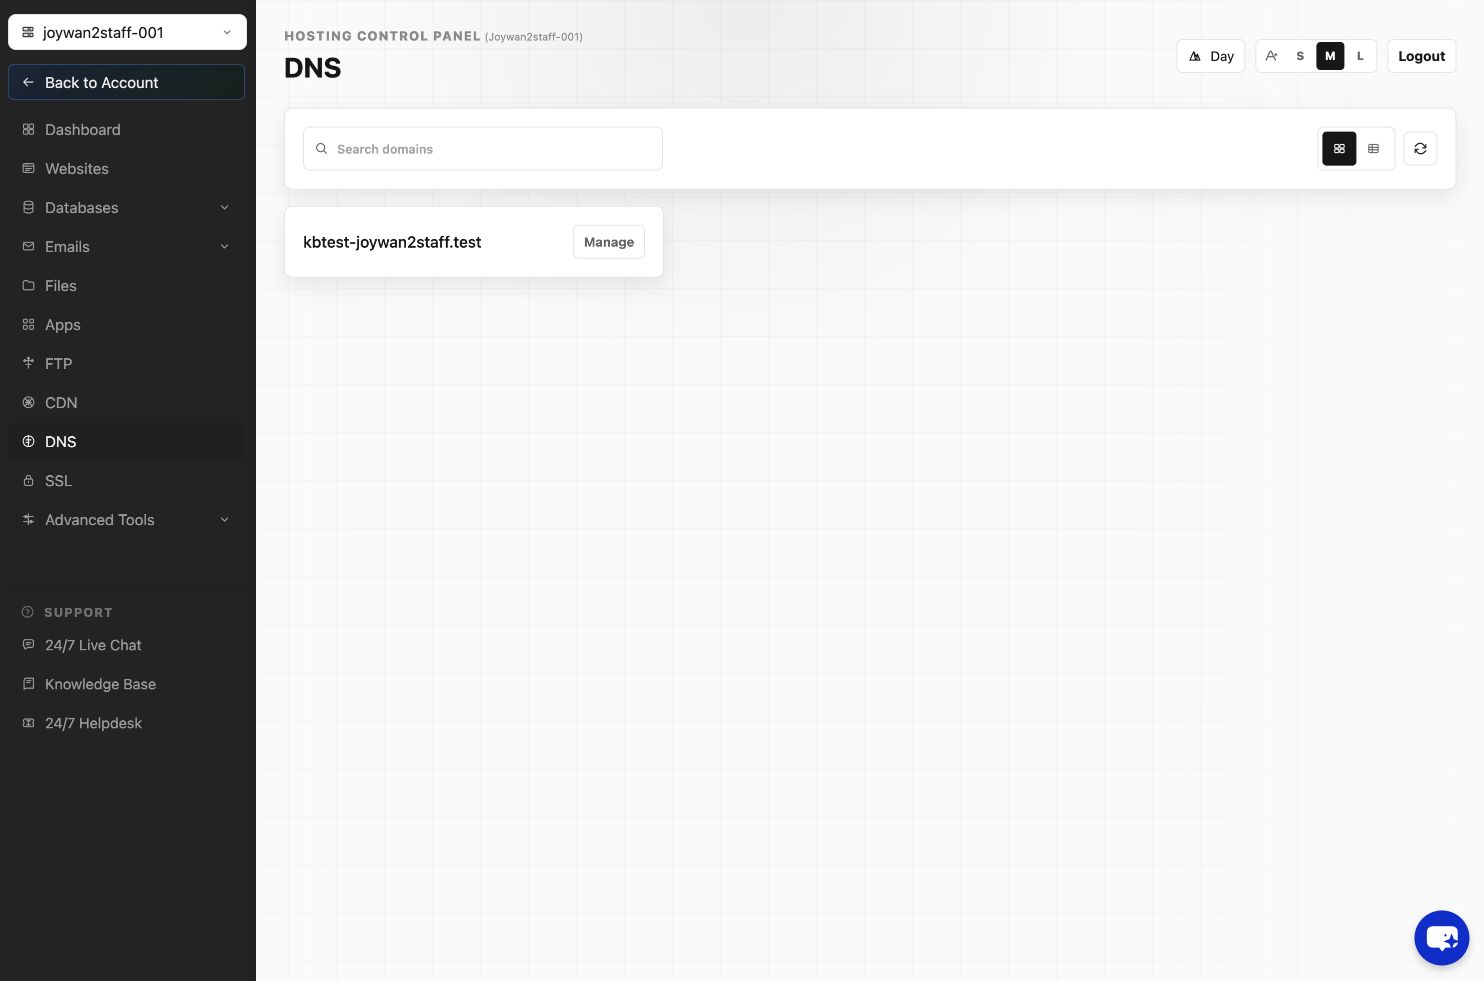
- Open DNS in the Hosting Control Panel, select the domain, and add the TXT record.
- Return to Microsoft 365 and complete domain verification.
- Add the MX, CNAME, TXT, and SRV records that Microsoft lists for the services you enabled.
- Remove or replace conflicting mail records only when Microsoft instructs you to do so.
- Wait for DNS propagation, then use the Microsoft 365 domain checker to verify the records.
Important: A domain should have only one SPF TXT record. If an SPF record already exists, merge the required Microsoft 365 include value into it rather than creating a second SPF record.
Article ID: 2459, Created: August 2 at 8:57 AM, Modified: August 4 at 2:27 AM