This advanced configuration lets an application run a self-managed Node.js executable. Keep the executable patched and test the application after every version change.
- Download the required Windows x64 Node.js executable from the official Node.js release archive.
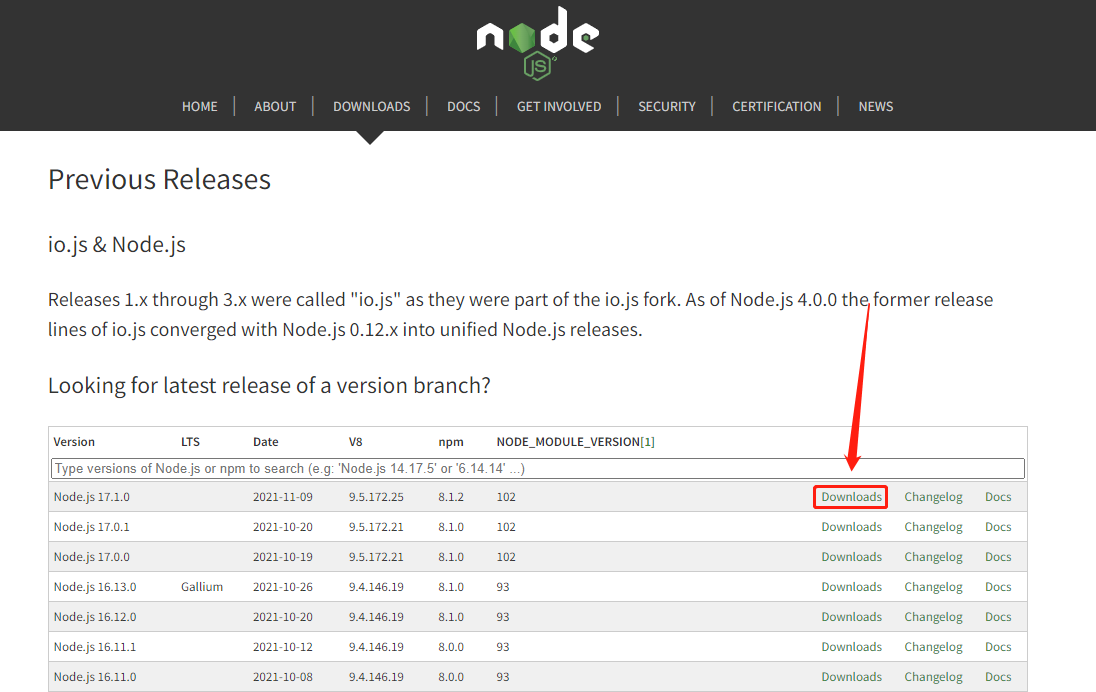
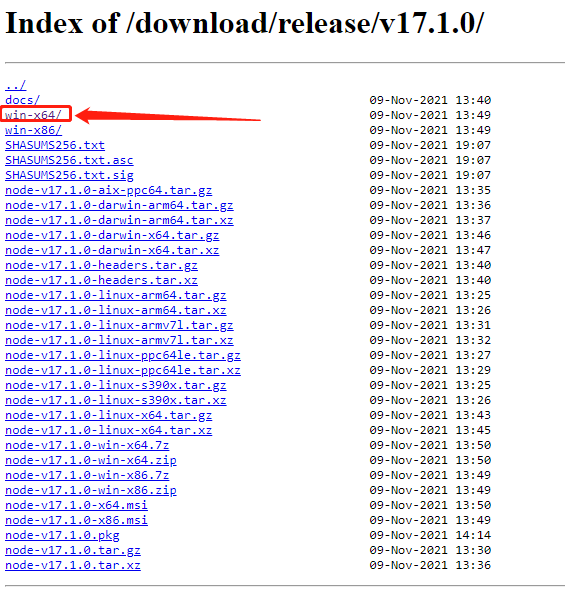
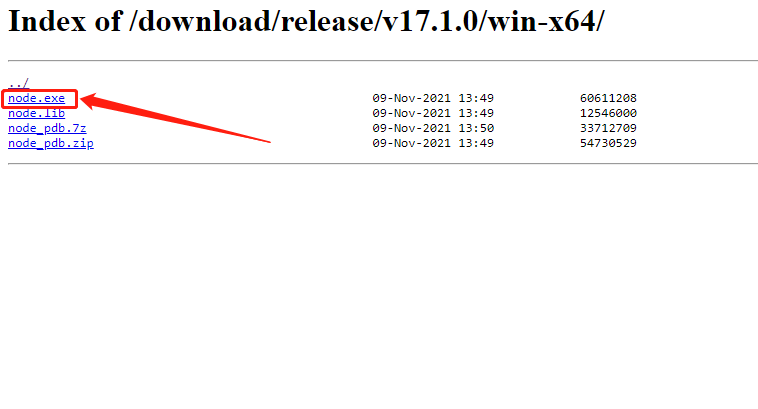
- Upload
node.exe to a protected application folder of your application such as App_Data.
- Enable Node.js for the website in the Hosting Control Panel.
- Update
web.config so the HTTP platform handler uses the full path to the uploaded executable.
<httpPlatform processPath="H:\root\home\account\www\site\App_Data\node.exe"
              arguments="app.js"
              startupTimeLimit="20"
              startupRetryCount="1"
              stdoutLogEnabled="true"
              stdoutLogFile=".\log.txt">
  <environmentVariables>
    <environmentVariable name="PORT" value="%HTTP_PLATFORM_PORT%" />
    <environmentVariable name="NODE_ENV" value="production" />
  </environmentVariables>
</httpPlatform>
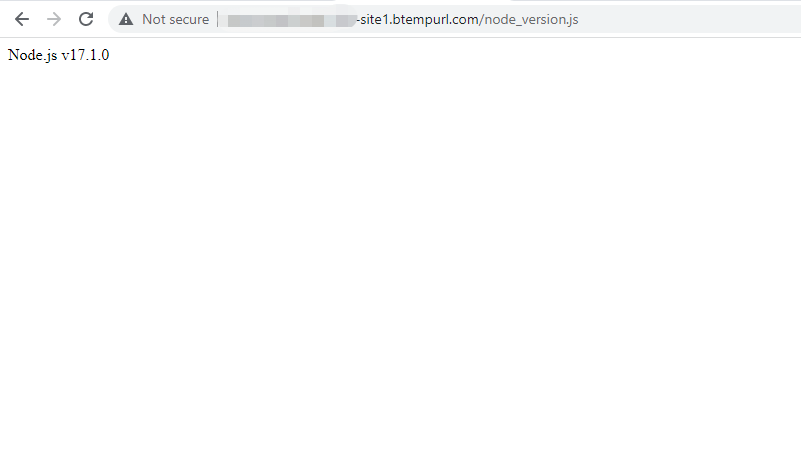
- Replace the example path and application filename with the actual values, then open the website and confirm the Node.js version.
Article ID: 2471, Created: August 2 at 9:01 AM, Modified: August 4 at 2:23 AM